WordPress security usually focuses on keeping plugins updated, using strong passwords, enabling two-factor authentication, and installing security plugins. These are important, but they are not the only ways to protect a WordPress website.
One security feature that website owners often overlook is HTTP security headers.
Security headers are instructions sent by your website’s server to visitors’ browsers. They help control how browsers handle website content, HTTPS connections, embedded pages, and external resources.
Properly configured security headers can reduce exposure to attacks such as cross-site scripting (XSS), clickjacking, and certain forms of information disclosure.
According to the OWASP HTTP Headers Cheat Sheet, security headers provide an additional layer of protection when properly implemented.
The good news is that WordPress website owners can configure many of these headers without installing another security plugin.
In this guide, we’ll examine how security headers work, review an actual WordPress security scan, and explain how to configure HTTP security headers using WPCode, .htaccess, and Cloudflare.
What Are HTTP Security Headers?
Whenever someone visits your WordPress website, their browser sends an HTTP request to your web server.
The server responds with the requested content, along with HTTP response headers containing information about the response.
Some headers describe the content type, caching behavior, and server configuration. Others tell the browser what security restrictions to apply.
For example, a security header can instruct a browser not to load your website inside an unauthorized iframe. Another can tell the browser to use HTTPS for future connections.
These protections help reduce certain browser-based attack opportunities.
However, security headers are not replacements for WordPress updates, secure authentication, proper input handling, or server hardening. They work best as part of a broader security strategy.
A Real-World WordPress Security Headers Test
To understand how these headers work in practice, I tested at a website, using SecurityHeaders.com.
The scan returned an overall security headers grade of B.
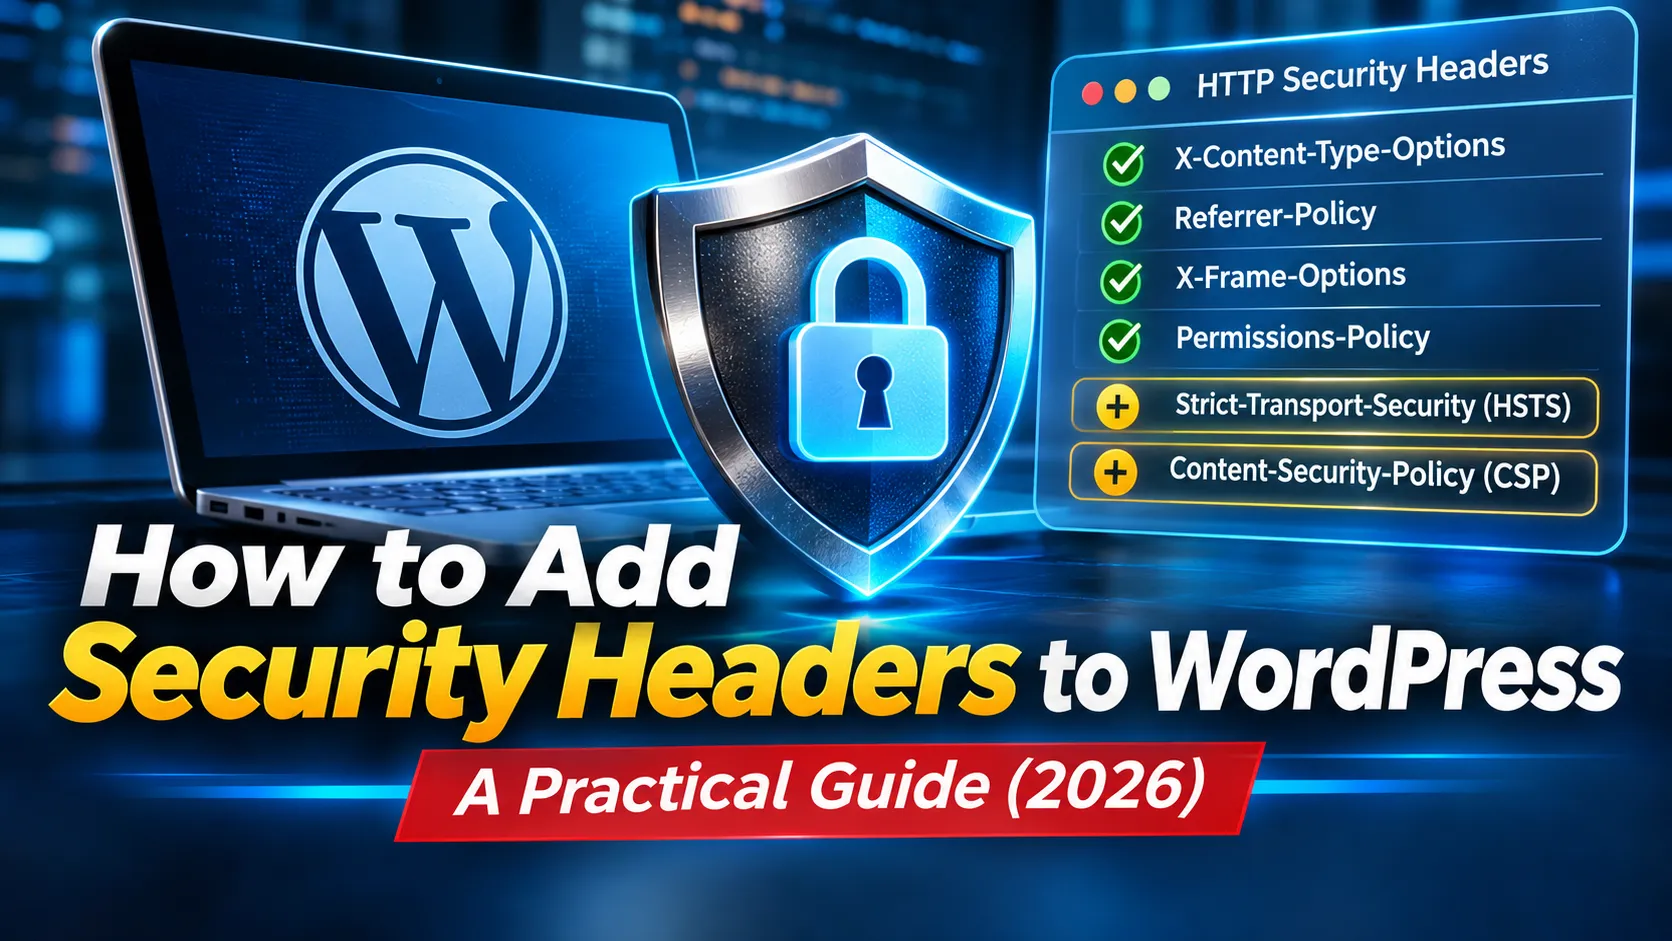
The report showed that four important security headers were already configured, while two additional headers were missing.
| Security Header | Scan Result |
|---|---|
| X-Content-Type-Options | Present |
| Referrer-Policy | Present |
| X-Frame-Options | Present |
| Permissions-Policy | Present |
| Strict-Transport-Security | Missing |
| Content-Security-Policy | Missing |
The website was successfully sending four security headers, but it had not yet implemented HTTP Strict Transport Security (HSTS) or an enforced Content Security Policy (CSP).
This did not mean the website was compromised or insecure overall. A security headers grade evaluates selected response-header configurations, not the complete security of a WordPress installation.
Nevertheless, the results identified two areas worth improving.
Understanding the Most Important WordPress Security Headers
Before modifying any server configuration, it helps to understand what the individual headers do.
1. X-Content-Type-Options
This header tells browsers to respect declared content types rather than attempting to guess them.
Recommended value:
X-Content-Type-Options: nosniff
Without this protection, certain browsers may interpret improperly labeled content differently than intended.
Using nosniff helps reduce risks associated with MIME-type confusion.
For most WordPress websites, this is a straightforward header to implement.
2. X-Frame-Options
Clickjacking attacks attempt to trick users into interacting with a website through a deceptive or hidden frame.
The X-Frame-Options header restricts whether another website can embed your pages.
A common WordPress configuration is:
X-Frame-Options: SAMEORIGIN
This allows pages to be framed by the same origin while preventing other origins from framing them.
An alternative is DENY, which prevents framing entirely.
For websites using page builders, embedded previews, or other frame-dependent tools, the appropriate configuration should be tested before deployment.
Modern Content Security Policy configurations can provide more flexible framing controls through the frame-ancestors directive.
3. Referrer-Policy
Browsers sometimes send information about the previous page when visitors follow links or load external resources.
The Referrer-Policy header controls how much of that information is shared.
A practical default is:
Referrer-Policy: strict-origin-when-cross-origin
This generally permits full referrer URLs for same-origin requests, limits cross-origin HTTPS requests to the origin, and avoids sharing referrer information when navigating from HTTPS to HTTP.
It provides a reasonable balance between privacy and functionality for many WordPress websites.
4. Permissions-Policy
Permissions-Policy controls whether certain browser capabilities can be used by a page and, where supported, embedded content.
For example:
Permissions-Policy: camera=(), microphone=(), geolocation=()
This configuration disables access to the camera, microphone, and geolocation features.
For a typical WordPress blog that does not require these capabilities, restricting them may be appropriate.
However, a website offering video consultations, location detection, or other browser-dependent features may need a different policy.
The correct configuration depends on what the website actually does.
5. Strict-Transport-Security (HSTS)
HSTS tells browsers to use HTTPS when connecting to your website.
A common long-term configuration is:
Strict-Transport-Security: max-age=31536000
This instructs supporting browsers to remember the HTTPS requirement for one year after receiving the header over a valid HTTPS connection.
HSTS helps protect against certain HTTPS downgrade attacks, but it must be configured carefully.
If your HTTPS configuration stops working, browsers that have remembered an HSTS policy may refuse to access the website.
For this reason, website owners should verify HTTPS reliability before enabling long HSTS durations.
6. Content-Security-Policy (CSP)
Content Security Policy is one of the more powerful HTTP security mechanisms.
It allows website administrators to define which sources of scripts, styles, images, fonts, frames, and other resources browsers may load.
CSP can reduce the impact of certain cross-site scripting and content-injection attacks.
However, it is also more complicated to configure correctly.
A modern WordPress website may rely on numerous third-party resources, including:
- Google Analytics and Google Tag Manager
- Google Fonts
- YouTube embeds
- Advertising networks
- Elementor and other page builders
- Contact forms and reCAPTCHA
- Social media integrations
An overly restrictive CSP can block legitimate website functionality.
That is why CSP should initially be tested in Report-Only mode before enforcement.
How to Add Security Headers to WordPress Using WPCode
One practical approach is to use the WPCode plugin.
WPCode allows WordPress administrators to run custom PHP snippets without modifying theme files directly.
This is useful when maintaining a website that regularly receives theme updates.
However, WordPress-generated headers may not apply to every server response, especially when pages are served directly from a cache or CDN.
For comprehensive protection, server-level or CDN-level configuration is generally preferable.
Step 1: Open WPCode
From the WordPress dashboard, navigate to:
Code Snippets → Add Snippet → Add Your Custom Code
Select PHP Snippet.
Give the snippet a descriptive name, such as:
WordPress Security Headers
Set the insertion method to Auto Insert and choose a site-wide execution location.
Step 2: Add the PHP Code
The following snippet adds four security headers and explicitly disables the obsolete browser XSS filter.
add_action('send_headers', function () {

    if (headers_sent()) {
        return;
    }

    header(
        'X-Content-Type-Options: nosniff'
    );

    header(
        'Referrer-Policy: strict-origin-when-cross-origin'
    );

    header(
        'X-Frame-Options: SAMEORIGIN'
    );

    header(
        'Permissions-Policy: camera=(), microphone=(), geolocation=()'
    );

    header(
        'X-XSS-Protection: 0'
    );

});
Do not include an opening <?php tag if WPCode already provides the PHP execution context.
The WordPress send_headers action allows developers to add headers to responses generated through WordPress.
The X-XSS-Protection: 0 setting disables a legacy browser protection that is no longer recommended as a modern XSS defense.
Step 3: Activate and Test
Save the snippet and activate it.
Clear your website caches before testing the response headers.
You can then scan the website using SecurityHeaders.com or inspect the response headers directly through your browser’s developer tools.
If your server or CDN is already adding some of these headers, avoid unnecessarily configuring duplicate values.
How to Add Security Headers Using .htaccess
For WordPress websites running Apache or compatible LiteSpeed configurations, security headers can often be added directly through .htaccess.
This method is useful because it allows the web server to send headers without waiting for WordPress PHP execution.
Before editing, back up your current .htaccess file.
Open the file in your WordPress installation’s root directory and place the following configuration above the WordPress-generated rewrite rules.
# BEGIN Custom Security Headers

<IfModule mod_headers.c>

Header always set X-Content-Type-Options "nosniff"

Header always set Referrer-Policy "strict-origin-when-cross-origin"

Header always set X-Frame-Options "SAMEORIGIN"

Header always set Permissions-Policy "camera=(), microphone=(), geolocation=()"

Header always set X-XSS-Protection "0"

</IfModule>

# END Custom Security Headers
Save the file, clear your caches, and test the website.
The mod_headers module must be available, and your web server must permit the relevant .htaccess directives.
If your server uses Nginx without an Apache-compatible layer, .htaccess directives will not apply. In that case, headers must be configured through the appropriate server configuration or CDN.
How to Enable HSTS for WordPress
HSTS requires additional care because it changes how browsers connect to your domain.
Before enabling it, make sure that:
- Your website has a valid SSL/TLS certificate.
- HTTP requests correctly redirect to HTTPS.
- HTTPS works across all important pages.
- Any subdomains included in the policy support HTTPS.
- You can maintain HTTPS consistently.
For Apache or compatible LiteSpeed installations, a short-duration testing policy can be configured as follows:
<IfModule mod_headers.c>

Header always set Strict-Transport-Security "max-age=300" "expr=%{HTTPS} == 'on'"

</IfModule>
This example tells supporting browsers to remember the HTTPS requirement for five minutes.
After confirming that the configuration works, you can progressively increase the duration.
A commonly used long-term value is:
Strict-Transport-Security: max-age=31536000
Avoid enabling includeSubDomains or preload automatically.
These options have broader effects and should only be used after reviewing the requirements of your entire domain.
How to Configure HSTS in Cloudflare
If your WordPress website uses Cloudflare, enabling HSTS at the CDN level is often more convenient.
Cloudflare can send the HSTS header to visitors without requiring changes to WordPress PHP.
To configure HSTS, open the Cloudflare dashboard and select your domain.
Navigate to:
SSL/TLS → Edge Certificates → HTTP Strict Transport Security (HSTS)
Enable HSTS, review the warnings, select your preferred settings, and save.
Cloudflare’s dashboard provides configurable Max Age options, along with controls for subdomains and preloading.
For a first deployment, avoid enabling subdomain enforcement or preloading until you have confirmed they are appropriate.
Cloudflare also warns that changing proxy settings or removing HTTPS while an HSTS policy remains active may make a website inaccessible to returning visitors.
You can read the official Cloudflare HSTS documentation for the full requirements.
If Cloudflare is responsible for issuing HSTS headers, avoid adding conflicting HSTS policies through WordPress or the origin server.
How to Add Content Security Policy to WordPress
CSP is often the most challenging security header to implement on a feature-rich WordPress website.
A simple blog with limited external resources may be relatively easy to configure.
A website using Elementor, Google Tag Manager, embedded videos, social integrations, advertising scripts, and multiple WordPress plugins may require significantly more testing.
The safest approach is to begin with Content-Security-Policy-Report-Only.
This allows the browser to identify policy violations without enforcing the restrictions.
For example, you can add the following PHP snippet through WPCode:
add_action('send_headers', function () {

    if (headers_sent()) {
        return;
    }

    header(
        "Content-Security-Policy-Report-Only: " .
        "default-src 'self'; " .
        "object-src 'none'; " .
        "base-uri 'self'; " .
        "frame-ancestors 'self'"
    );

});
This example is a starting point for testing, not a finished production CSP.
Because the policy is report-only, browsers do not block resources that violate it.
Violations can be examined through browser developer tools. For ongoing monitoring, administrators can also configure an appropriate CSP reporting endpoint.
A key distinction is that a Report-Only policy does not provide the same protection as an enforced policy.
It also will not satisfy a scanner checking specifically for the enforced Content-Security-Policy response header.
The purpose of this stage is to discover which resources and browser behaviors require further configuration.
Testing CSP with Elementor
If your website uses Elementor, test both the public-facing pages and the editing interface.
Make sure Elementor can still load its editor, previews, templates, and interactive widgets.
Also verify your website’s Google Analytics implementation, advertising scripts, contact forms, embedded content, and other third-party integrations.
Once you understand your legitimate resource requirements, refine the policy and test again.
For stronger XSS protection, modern CSP implementations often use script nonces or hashes rather than broad allowances for inline scripts.
These approaches require more careful integration with WordPress themes and plugins.
Avoid copying a generic enforced CSP from another website without reviewing its dependencies.
The OWASP Content Security Policy Cheat Sheet provides additional guidance.
How to Test WordPress Security Headers
After configuring your security headers, verify that they appear in your website’s actual HTTP responses.
Use SecurityHeaders.com
Visit SecurityHeaders.com and enter your domain name.
The service examines selected security-related response headers and provides an overall grade.
It also identifies headers that are missing or configured incorrectly.
Although a higher grade is a useful goal, remember that the result does not represent a complete website security audit.
Use Mozilla Observatory
Mozilla Observatory offers another way to examine website security configurations.
It can help identify security settings that deserve closer inspection.
Test Using cURL
Developers can also check response headers directly from a terminal.
Run:
curl -I https://example.com/Replace example.com with your WordPress domain.
To inspect headers after redirects, use:
curl -IL https://example.com/The response should show the headers configured by your server, WordPress, or CDN.
Remember that cURL displays headers from the server response but does not verify that all browser functionality remains intact.
You should still test the website in an actual browser.
Common Mistakes When Adding WordPress Security Headers
Security headers can improve protection, but incorrect configurations can introduce problems.
One common mistake is enforcing a strict CSP without understanding the website’s external dependencies.
This can result in broken JavaScript, missing styling, blocked advertising scripts, and nonfunctional embedded content.
Another mistake is enabling long-term HSTS settings before verifying the reliability of HTTPS.
A third issue is configuring the same header independently through WordPress, Apache, LiteSpeed, and Cloudflare.
Overlapping configurations can produce duplicate headers or unintended restrictions.
Website administrators should choose a primary configuration layer and inspect the final response received by visitors.
For most websites, the practical order is to implement the simpler headers first, verify HTTPS, configure HSTS carefully, and introduce CSP through a testing process.
Do Security Headers Affect WordPress SEO?
Security headers are primarily browser security controls, not SEO ranking techniques.
Adding headers such as X-Content-Type-Options or Referrer-Policy should not be treated as a direct way to improve Google search rankings.
However, incorrect security configurations can create technical problems that indirectly affect website performance and visibility.
For example, an overly restrictive CSP could prevent essential resources from loading, while an incorrectly configured HTTPS environment could create accessibility problems.
The goal should be secure and reliable website behavior rather than improving an automated security grade at the expense of functionality.
Should You Use WPCode, .htaccess, or Cloudflare?
Each method has advantages depending on your hosting environment.
| Method | Best Use | Main Limitation |
|---|---|---|
| WPCode | Simple WordPress-level configuration | May not cover cached or server-generated responses |
| .htaccess | Apache or compatible LiteSpeed hosting | Requires compatible server configuration |
| Cloudflare | CDN-level header management | Requires careful consideration of Cloudflare settings and coverage |
| Web server configuration | Comprehensive server-side control | Requires administrator access and technical knowledge |
If you operate several WordPress websites, managing headers consistently at the server or CDN level can reduce configuration differences.
WPCode remains useful when server-level access is limited or when testing WordPress-generated responses.
For an Elementor website, whichever approach you choose, always verify the editor and front-end functionality after making changes.
Final Thoughts: Improving WordPress Security One Header at a Time
The IronPinoy.com security scan provides a useful example of how small server configuration changes can strengthen a WordPress website.
The initial Grade B result showed that several important headers were already working. The next improvements involved evaluating HSTS and developing a suitable CSP.
But achieving an A or A+ grade should not be the only objective.
A website with a perfect security headers score can still have vulnerable plugins, insecure passwords, outdated software, or poorly secured hosting.
Security headers are one layer of defense, not a complete security system.
For WordPress owners and developers, the most practical approach is to configure the low-risk headers, verify HTTPS, introduce HSTS carefully, and test CSP before enforcement.
Combined with regular updates, strong authentication, reliable backups, and secure hosting, these measures can make a WordPress website more resilient against common browser-based threats.
Useful references: