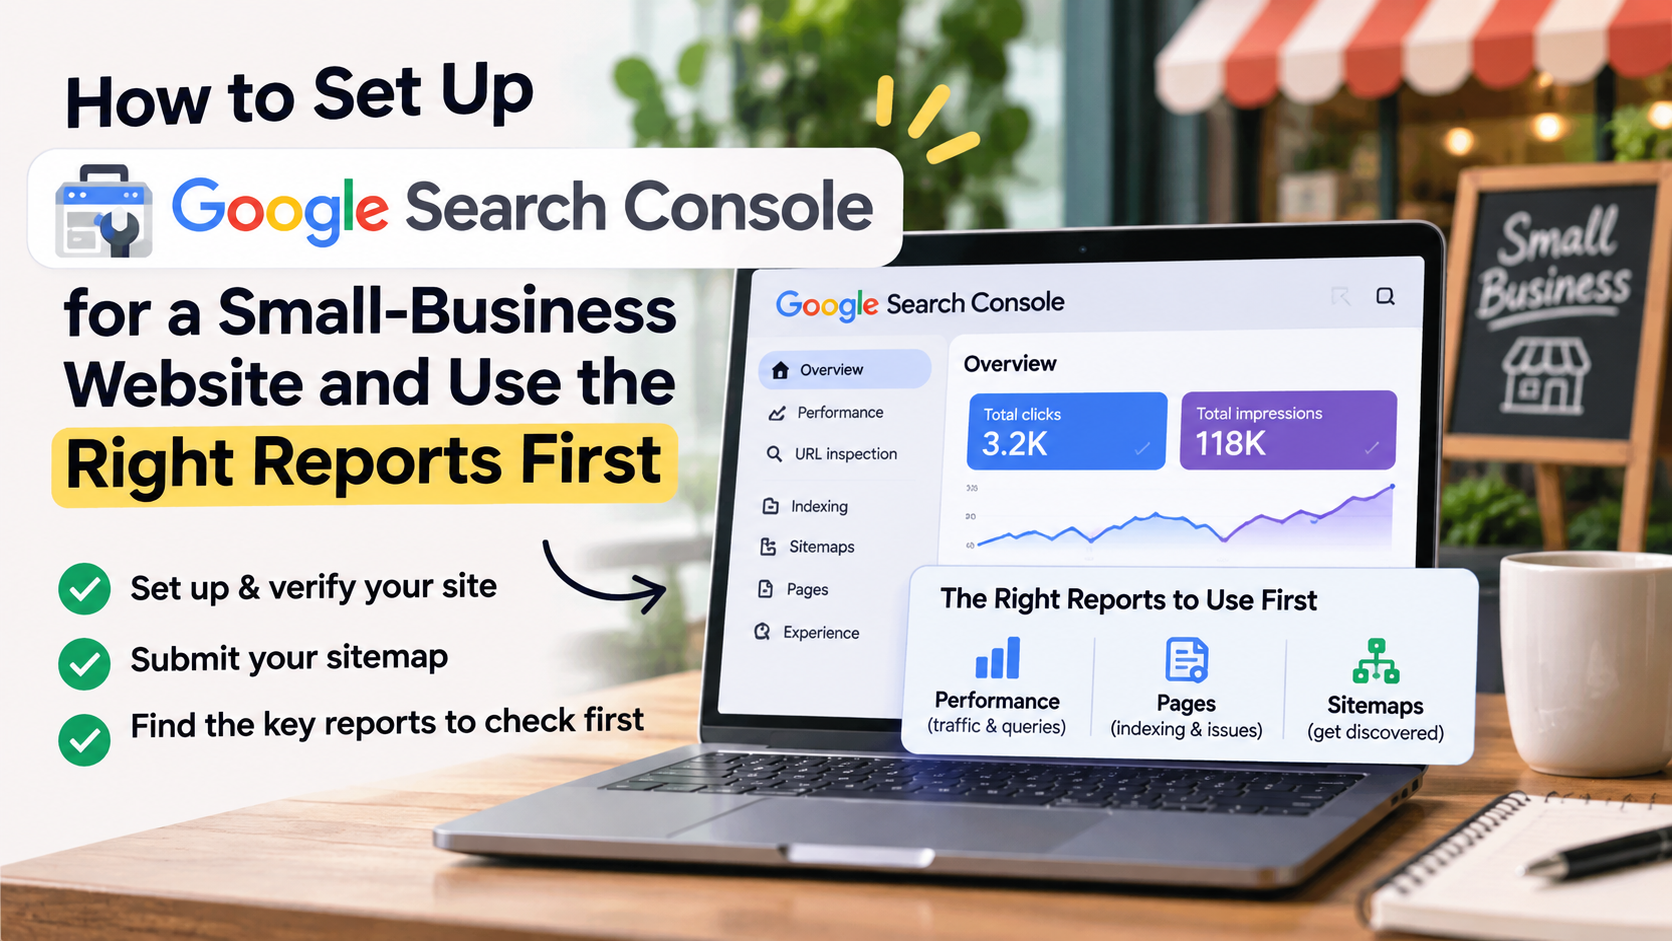
If you run a small-business website, Google Search Console is one of the most useful free tools you can set up early. Google describes it as a tool for site owners to understand how their site performs in Google Search, and the basic requirement is simply a Google account plus a verified property.
The good news: you do not need to master every report on day one. A better approach is to set up your property correctly, verify ownership, submit your sitemap, and learn the first few reports that help you spot real issues.
What Google Search Console does
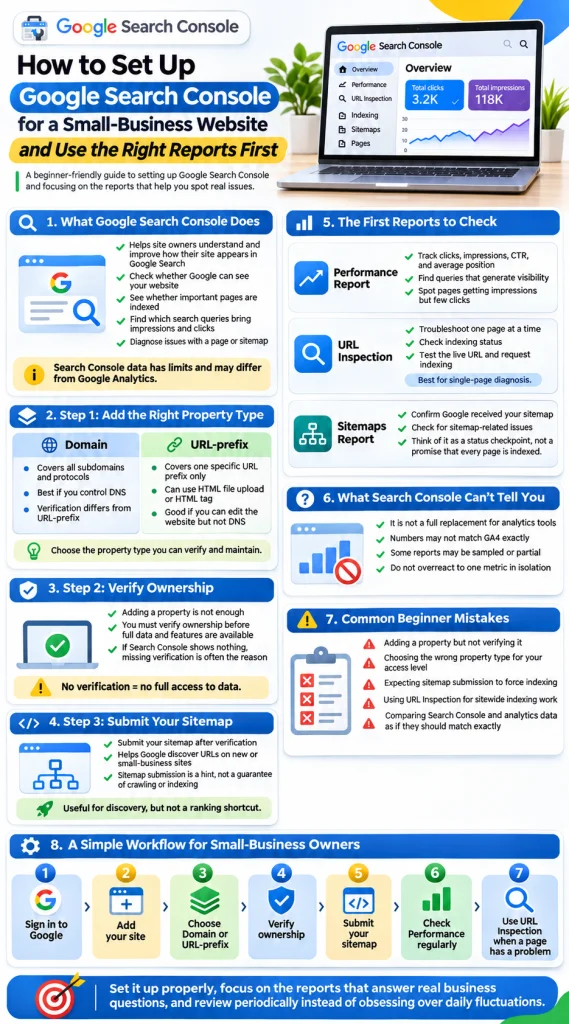
According to Google’s Search Console getting started guide, Search Console helps site owners understand and improve how their site appears in Google Search. For many beginners, that means using it to answer practical questions like:
- Is Google seeing my website at all?
- Are important pages indexed?
- Which search queries bring impressions and clicks?
- Did Google find problems with a specific page or sitemap?
It is also worth setting expectations early. Google notes that Search Console data has limits and may differ from other tools such as Google Analytics. It should not be treated as a perfect one-to-one traffic dashboard for everything happening on your site.
Step 1: Add the right property type
When you add a site, one of the first choices is property type. Google supports both Domain properties and URL-prefix properties, and the verification options differ depending on which one you choose.
| Property type | What it covers | Verification notes |
|---|---|---|
| Domain | All subdomains and protocols for a domain | Verification methods differ from URL-prefix properties |
| URL-prefix | A specific URL prefix only | Can use methods such as HTML file upload and HTML tag verification |
Google’s documentation confirms that HTML file upload and HTML tag verification work for URL-prefix properties, but not for Domain properties. In practice, that means your best option depends on what access you have.
- If you control your domain’s DNS settings, a Domain property can give broader coverage.
- If DNS access is difficult but you can edit the website itself, a URL-prefix property may be more straightforward.
There is no universal “best” method in the official docs, so choose the one you can actually verify and maintain.
Step 2: Verify ownership before expecting data
This is the step many beginners overlook. Adding a property is not enough by itself. Google says you must verify ownership before you can access property data and use Search Console features fully.
If you have ever thought, “I added my site, but Search Console shows nothing,” this is often the reason.
Use one of Google’s supported verification methods for your chosen property type, complete the verification, and then return to the property dashboard. Only after that should you expect reports and tools to become available.
Step 3: Submit your sitemap
Once your property is verified, submit your sitemap. This helps Google discover URLs on your site, especially if your website is new or has pages that are not easy to find through normal internal linking.
But there is an important caveat: Google says sitemap submission is a hint, not a guarantee of crawling or indexing. So if you submit a sitemap today, that does not mean every page will be indexed tomorrow.
That makes sitemap submission useful, but not magical. It is a discovery aid, not a ranking shortcut.
The first reports to check
Once setup is done, avoid the temptation to click every menu item. Start with these three areas.
1) Performance report
The Performance report is where many site owners first learn how people are finding them in Google Search. Google says this report includes clicks, impressions, click-through rate, and average position. The default Search results view shows the last three months of data unless you change the date range.
Use it to answer simple questions such as:
- Which search queries generate impressions?
- Which pages get clicks?
- Are some pages getting impressions but very few clicks?
Google’s documentation also notes that newer Search experiences can affect reporting context. For example, its updates page says data from AI Mode now counts toward totals in the Performance report. So if you compare current numbers with older tutorials, the reporting context may not be identical.
2) URL Inspection
When one page has a problem, use URL Inspection instead of guessing. Google explains that the URL Inspection tool is for troubleshooting a single page, checking indexing status, testing the live URL, and requesting indexing for that specific page.
This is helpful for situations like:
- A new service page is not appearing in search
- You updated an important landing page and want Google to recrawl it
- You want to understand whether Google can access a particular URL
Google also makes an important distinction here: if you want many pages indexed, submitting a sitemap is the better route than repeatedly requesting indexing one URL at a time.
3) Sitemaps report
The Sitemaps area is your quick check for whether Google received the sitemap you submitted. If you are working on a WordPress or small-business site, this is a practical place to confirm you submitted the expected sitemap URL and monitor whether Google reports issues with it.
Think of this report as a status checkpoint, not a promise that every listed page will be indexed.
What Search Console can’t tell you
Search Console is valuable, but it has limits. In Google’s explanation of Search Console data, the company notes that data can differ from other products and some reports may represent sampled or partial views rather than a complete inventory of every URL.
That means:
- Search Console numbers may not match GA4 exactly
- It is not a full replacement for analytics tools
- You should be careful about overreacting to one metric in isolation
If you want a broader reminder about that last point, our related post on why over-reliance on SEO metrics can harm your website is a useful companion read.
Common beginner mistakes
- Adding a property but not verifying it: no verification means no full access to data.
- Choosing the wrong property type for your access level: verification options depend on the property type.
- Expecting sitemap submission to force indexing: Google treats it as a hint.
- Using URL Inspection for sitewide indexing work: it is designed for single-page diagnosis.
- Comparing Search Console and analytics data as if they should match exactly: Google says differences are normal.
A simple workflow for small-business owners
- Create or sign in to your Google account.
- Add your website as a Domain or URL-prefix property.
- Verify ownership using a supported method.
- Submit your sitemap.
- Check the Performance report for clicks, impressions, CTR, and average position.
- Use URL Inspection when one important page has a problem.
- Review periodically instead of obsessing over daily fluctuations.
For most small-business websites, that is enough to get real value from Search Console without getting buried in SEO dashboards. Set it up properly, learn the reports that answer actual business questions, and let Google’s own documentation guide your next steps.
Sources
- Getting started with Search Console – Search Console Help
- Verify your site ownership – Search Console Help
- Performance report (Search results): Overview and basic setup – Search Console Help
- Inspect and troubleshoot a single page – Search Console Help
- Build and Submit a Sitemap | Google Search Central | Documentation | Google for Developers
- About Search Console data – Search Console Help
- Latest Google Search Documentation Updates | Google Search Central | What’s new | Google for Developers
- How are you performing on Google? – Search Console Help
Researched on November 9, 2026. This article was generated with AI using the linked sources. Verify time-sensitive details with the original sources.